I call this a rebuild as it involved rather more work than I had anticipated. I bought this guitar from China through Aliexpress and fully expected to have to replace the hardware and pickups. I usually level and re-crown the frets on any guitar I buy, and the nut usually gets replaced too, or at least cut to the correct height.
However, as I stripped the guitar down it became apparent that there were fundamental issues which would need correcting if the guitar was going to meet my standards. Even then there were cosmetic issues which couldn’t be resolved to my satisfaction.
Straight after taking the guitar out of the box it was clear that the action was far too high. I couldn’t turn the adjusting wheels though. Removing the strings revealed why: the holes for the post anchors had been drilled too close together. So had the holes for the stop tailpiece. The tail and bridge were just jammed on and completely locked in place. Oh dear.
I had bought an aluminium stop bar to replace the pot metal one the guitar came with, and the post anchors were a smaller diameter than the originals. Time to get my plug-making tools out.
A 15mm Forstner bit is used to open out the holes in the body. I’d have preferred to use 14mm but nobody makes a 14mm plug cutter. The tailpiece should just cover the plugs.
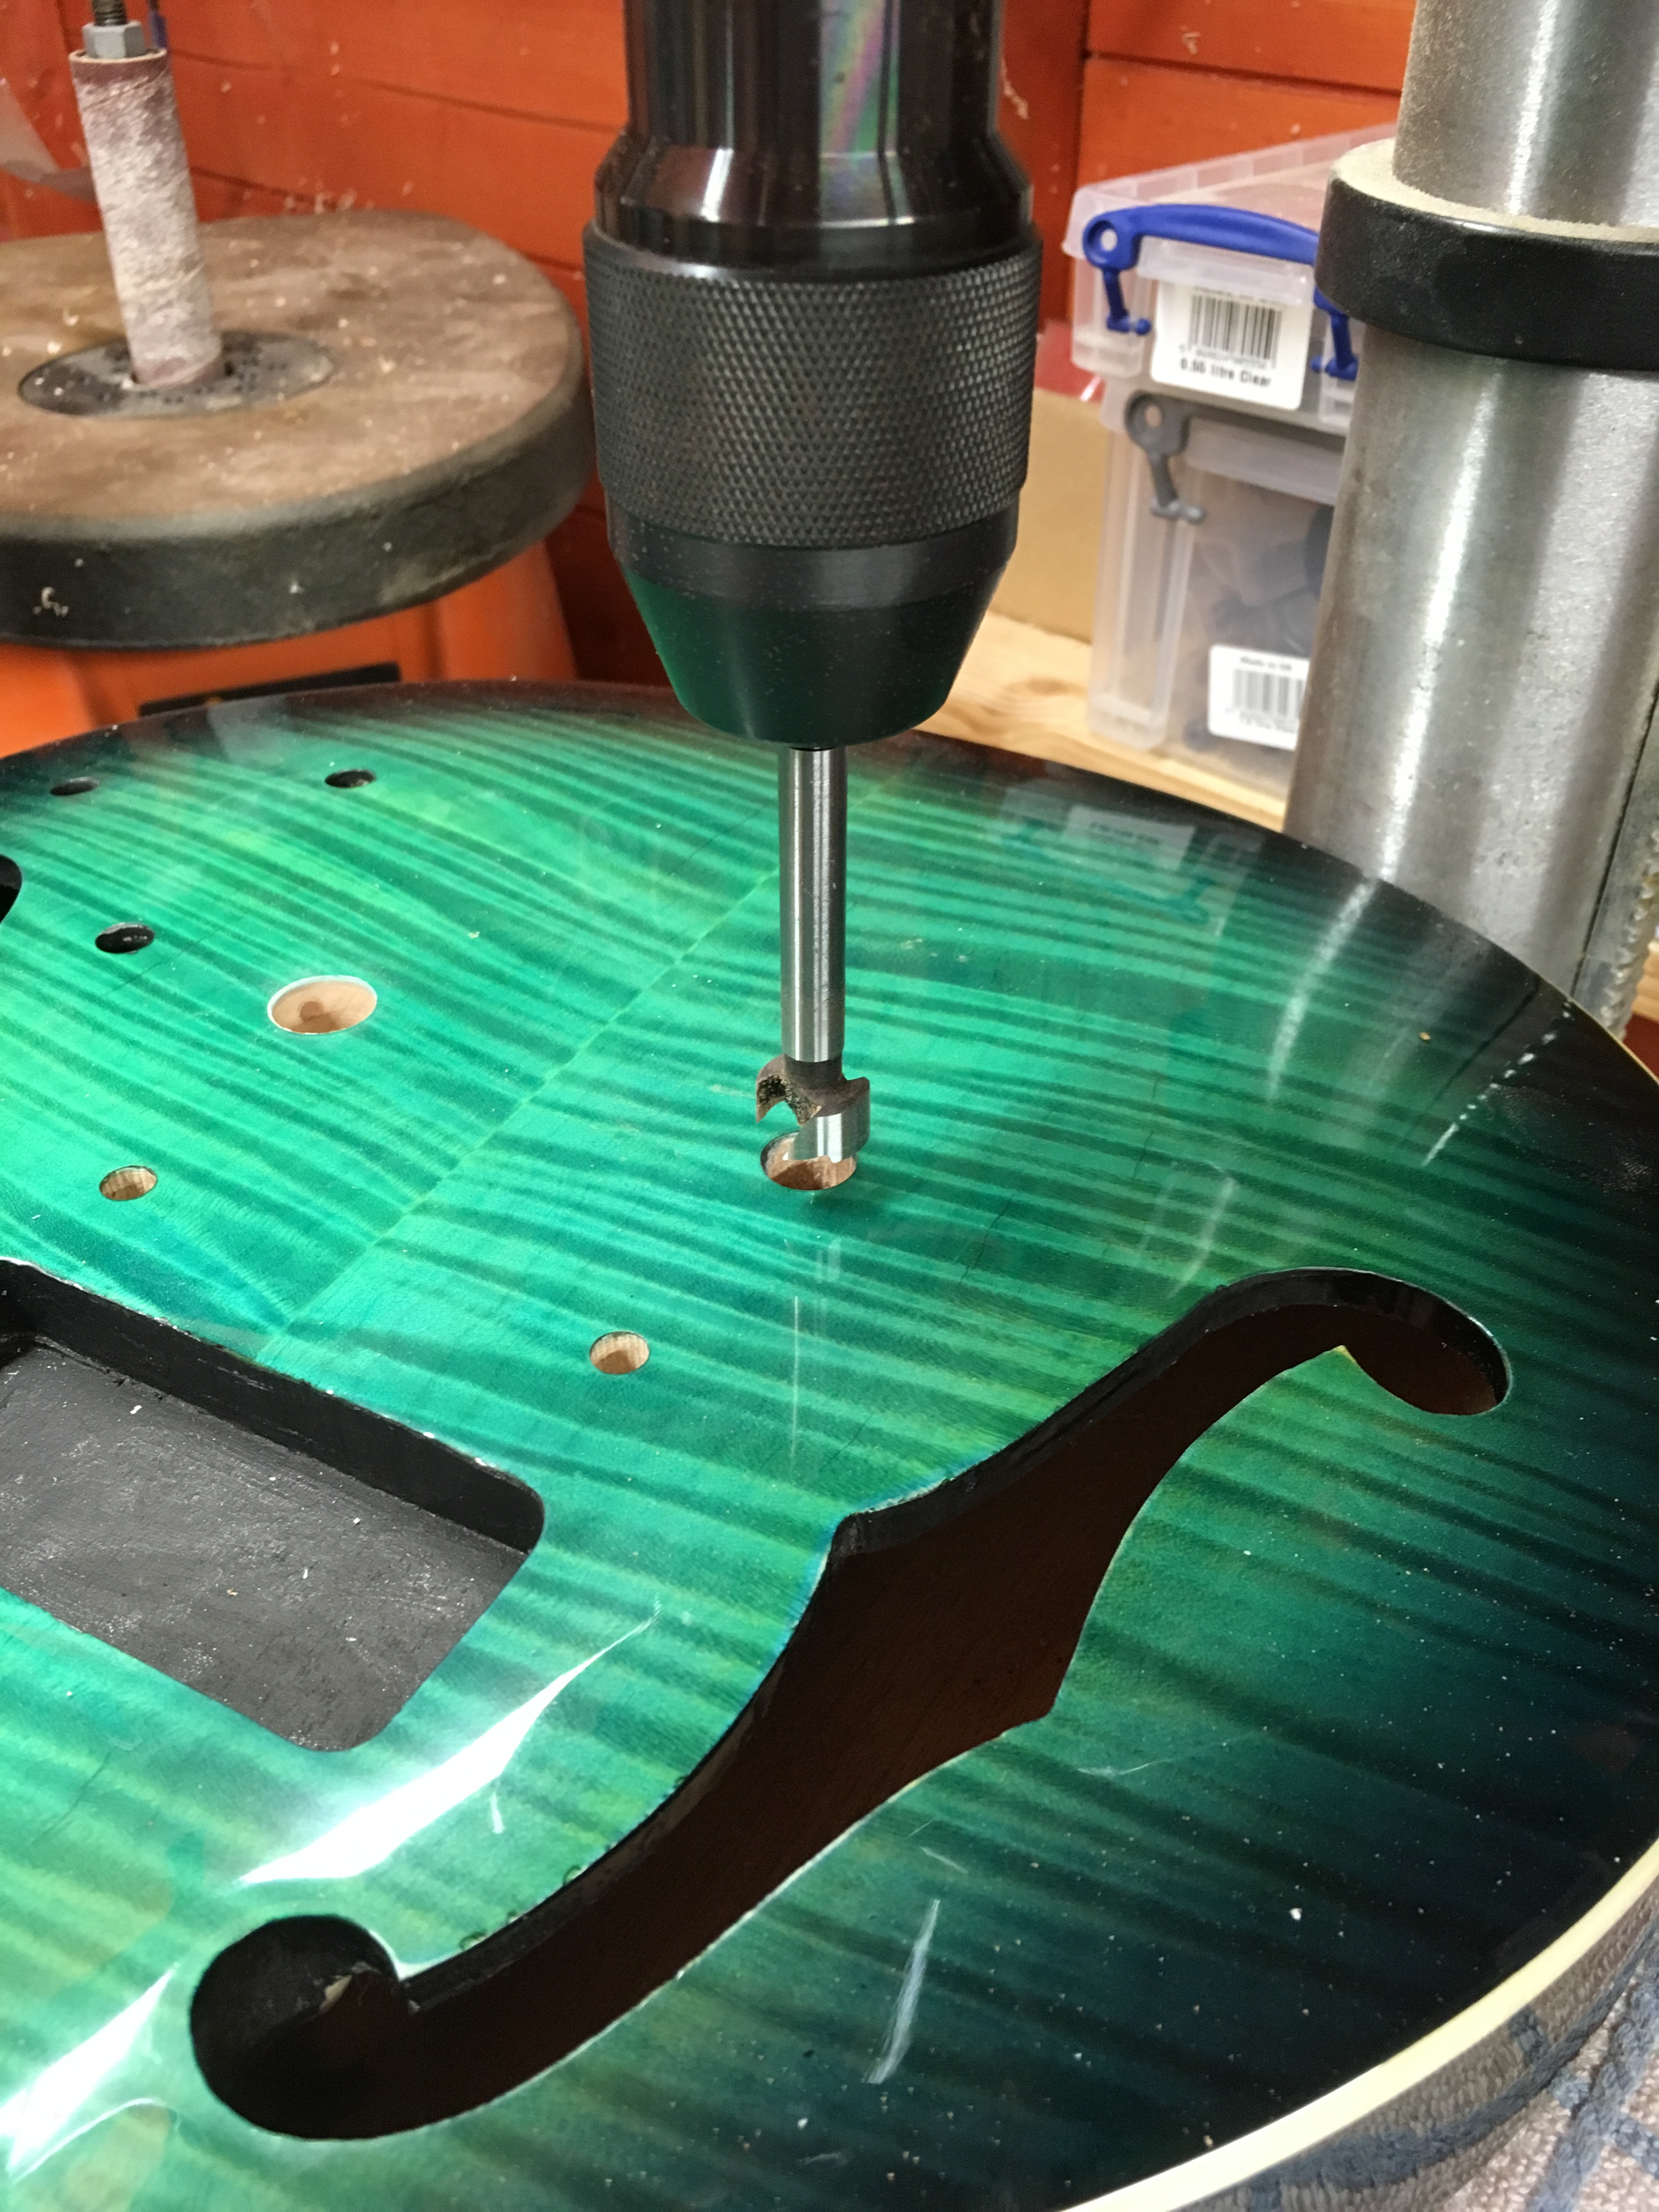
A couple of 15mm maple plugs are glued into the new holes with fish glue. New to me, this is supposed to have all the qualities of the old-fashioned hide glue, but doesn’t need to be cooked in a pot like some magic potion. It’s very, very sticky and you can’t wipe it up with the blue workshop paper towel I use – it just sticks the blue roll to the guitar. Frankly I made a bit of a mess, but the plugs were well and truly stuck by the end.

After a quick bit of marking out, new holes are drilled to the correct size, in the correct place and the new post anchors tapped in.
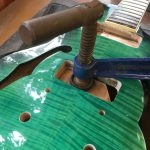
The bridge was only minutely out so I didn’t plug the hole. The new posts (recycled from the MY Gretsch) were slightly fatter than the old ones so I used the pillar drill to drill the existing holes out slightly off-centre. It worked and the new bridge fits perfectly. Unfortunately it later became apparent that the original holes were also too far from the fretboard so it’s impossible to intonate the guitar correctly. Next time the strings come off I’ll plug and re-drill the holes properly. D’oh.
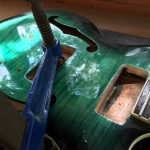
The routs for the P90s were too deep, too small and really untidy. Apart from that they were OK. I glued a mahogany shim into the bottom of each one and used my template to open them out to the correct size with the hand-router. I angled the template so the bottom of the routing was parallel with the strings. The original pickups were utterly rubbish so I swapped them for some from Axesrus. There’s an Early 50s in the neck and a Hot 90s in the bridge, but I’ve fiddled with the magnets. I put Alnico 2 magnets in the neck and Alnico 5 in the bridge to give it a bit more oomph.
By now I was on the home stretch. I reamed out the peghead holes to take sealed tuners, made a pickguard, stoned and crowned the frets, replaced the nut with an Earvana and rewired it with ’50s-style braided wire and Mullard ‘Mustard’ capacitors. Job done.
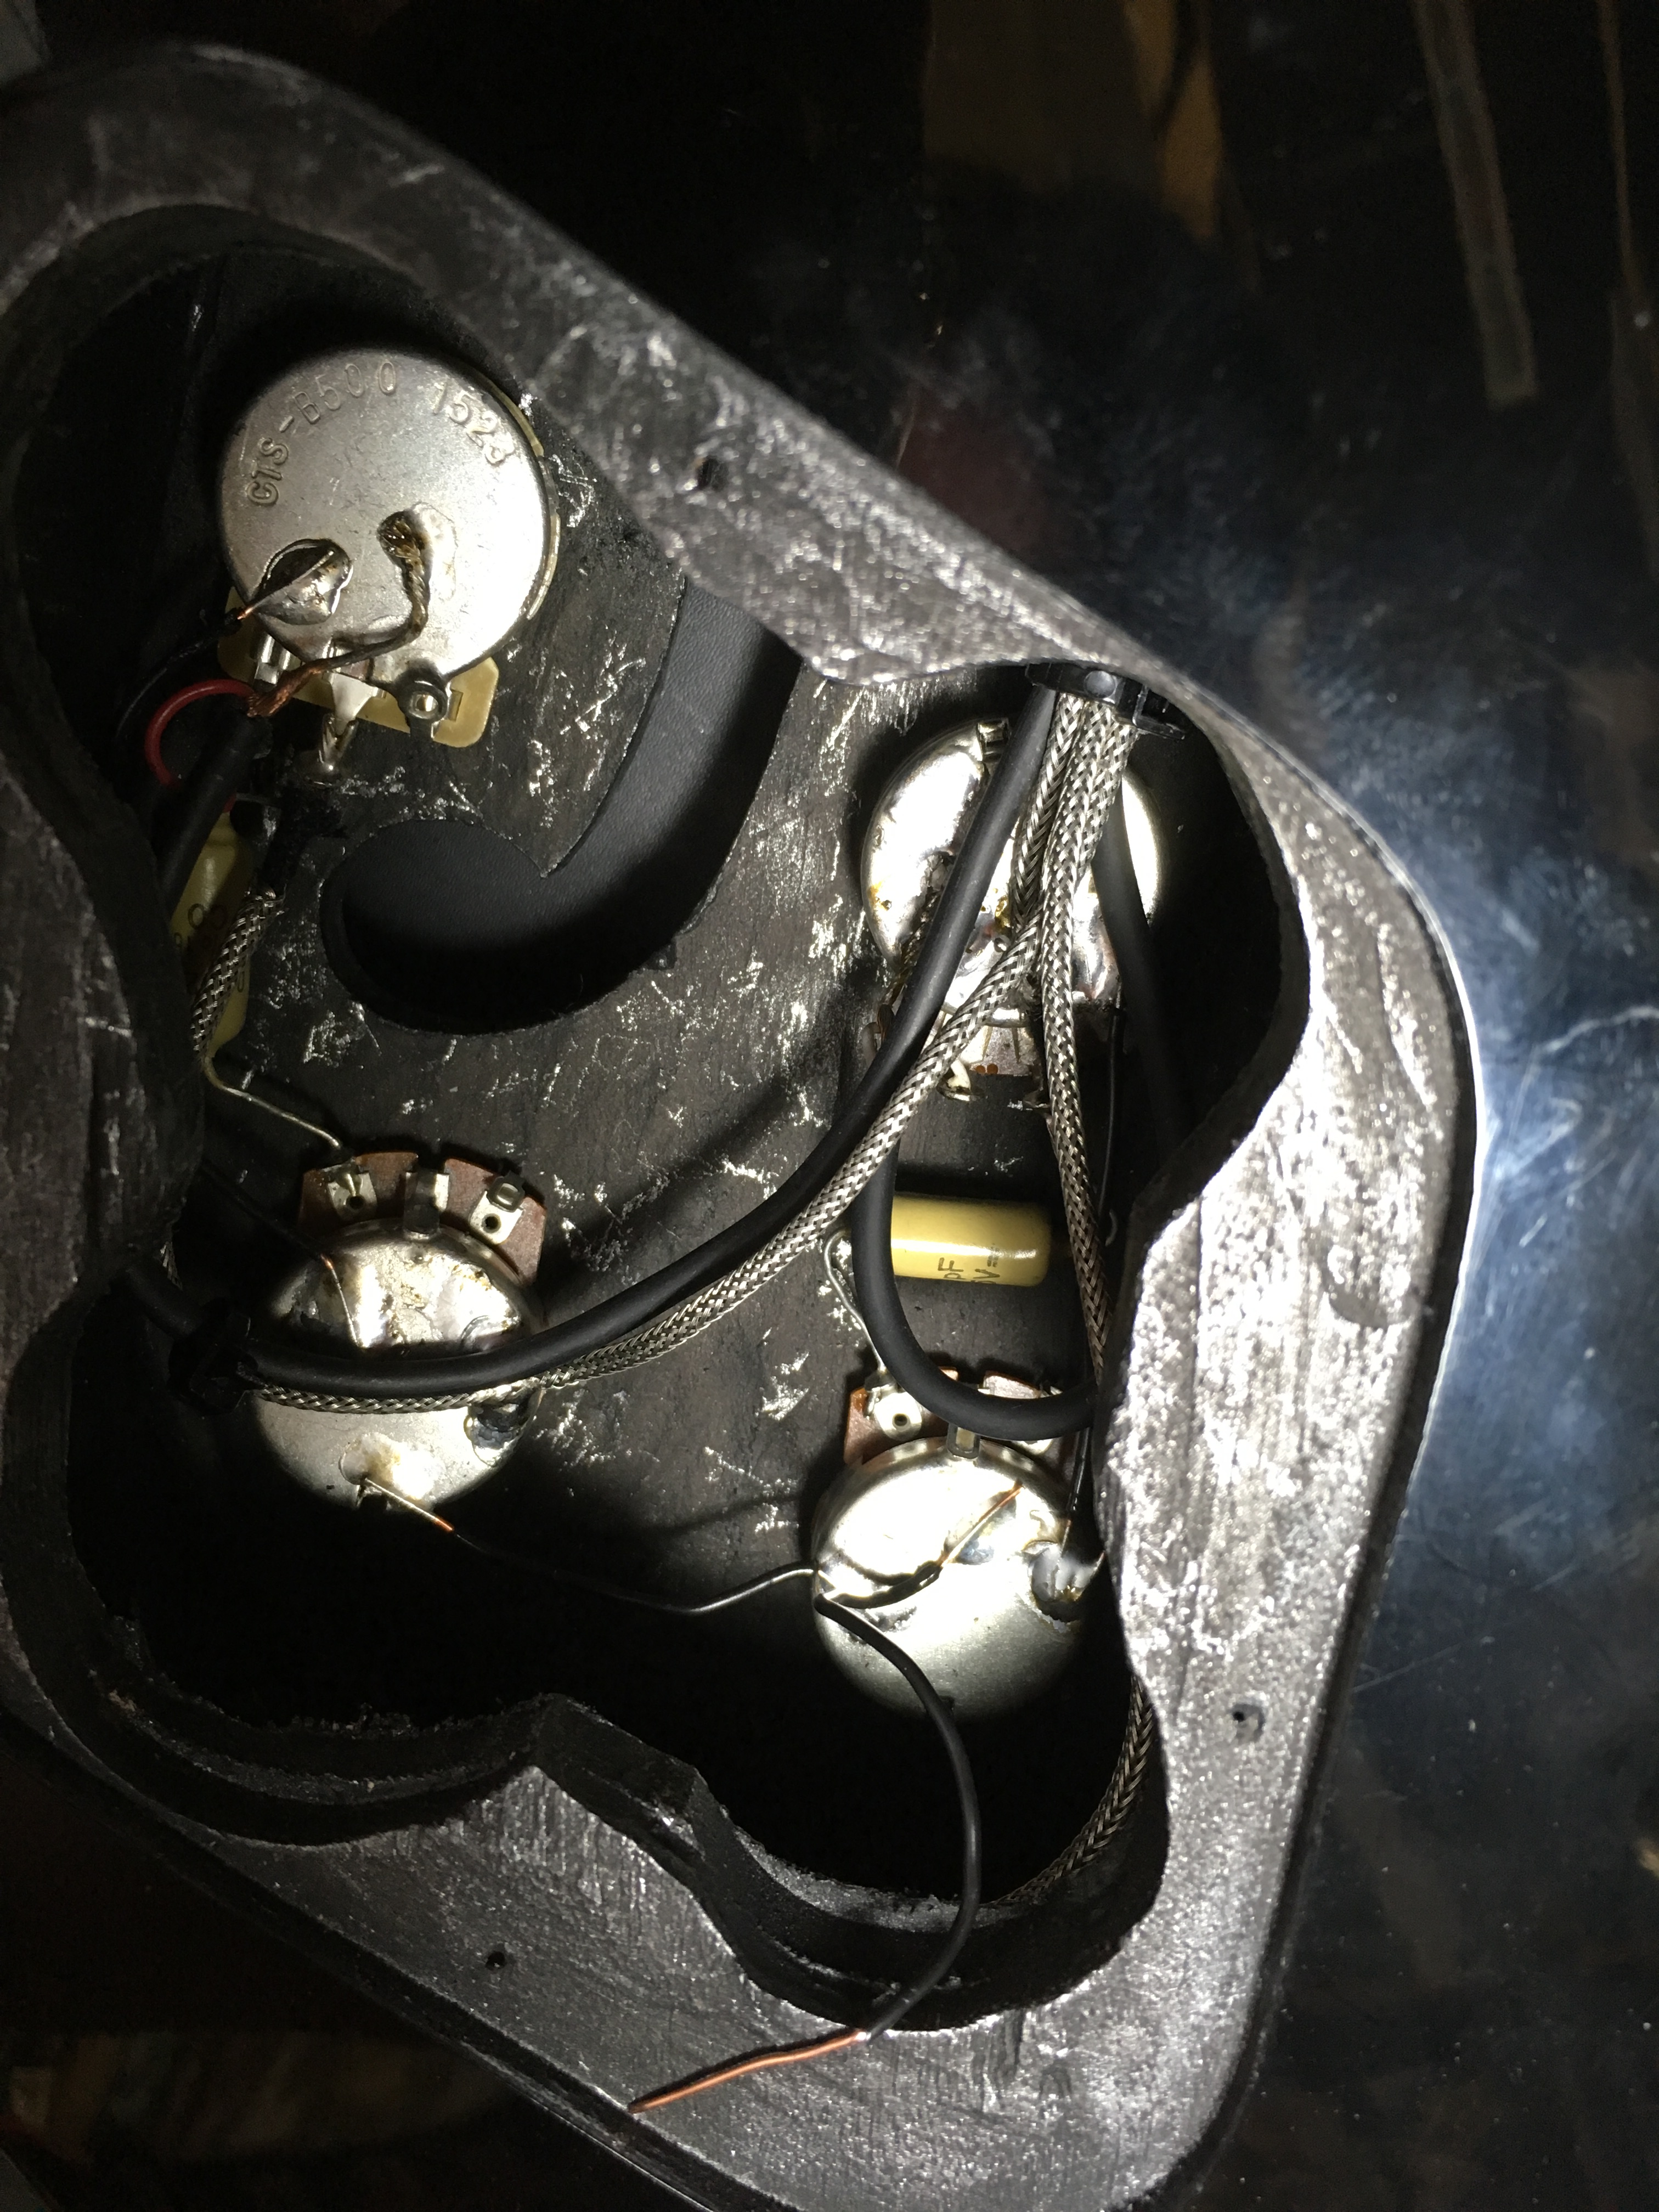
I then discovered that one of the cheap Alpha pots had failed despite the great care I’d taken. This is why I always use CTS pots. So I replaced it with a special CTS pot designed with the thinner 8mm shaft for import guitars. I don’t think they are as good as the standard CTS pots but they do the job and you don’t have to ream the holes in the top of the guitar out.