Back in the early 1980s Tokai started making guitars heavily inspired by well known American designs. There are no prizes for guessing where this guitar drew its inspiration from.
The names they chose were a bit weird – Goldstar Sound, Springy Sound and Silverstar Sound, but the guitars were well-made and captured the essence of the original for a fraction of the price at a time when Fender themselves were struggling to make a ‘proper’ one.
The guitars were good enough that, instead of suing them, Fender made an agreement with Tokai. The outcome of this was that Tokai supplied Fender with Japanese-made guitars from 1997 until 2015.
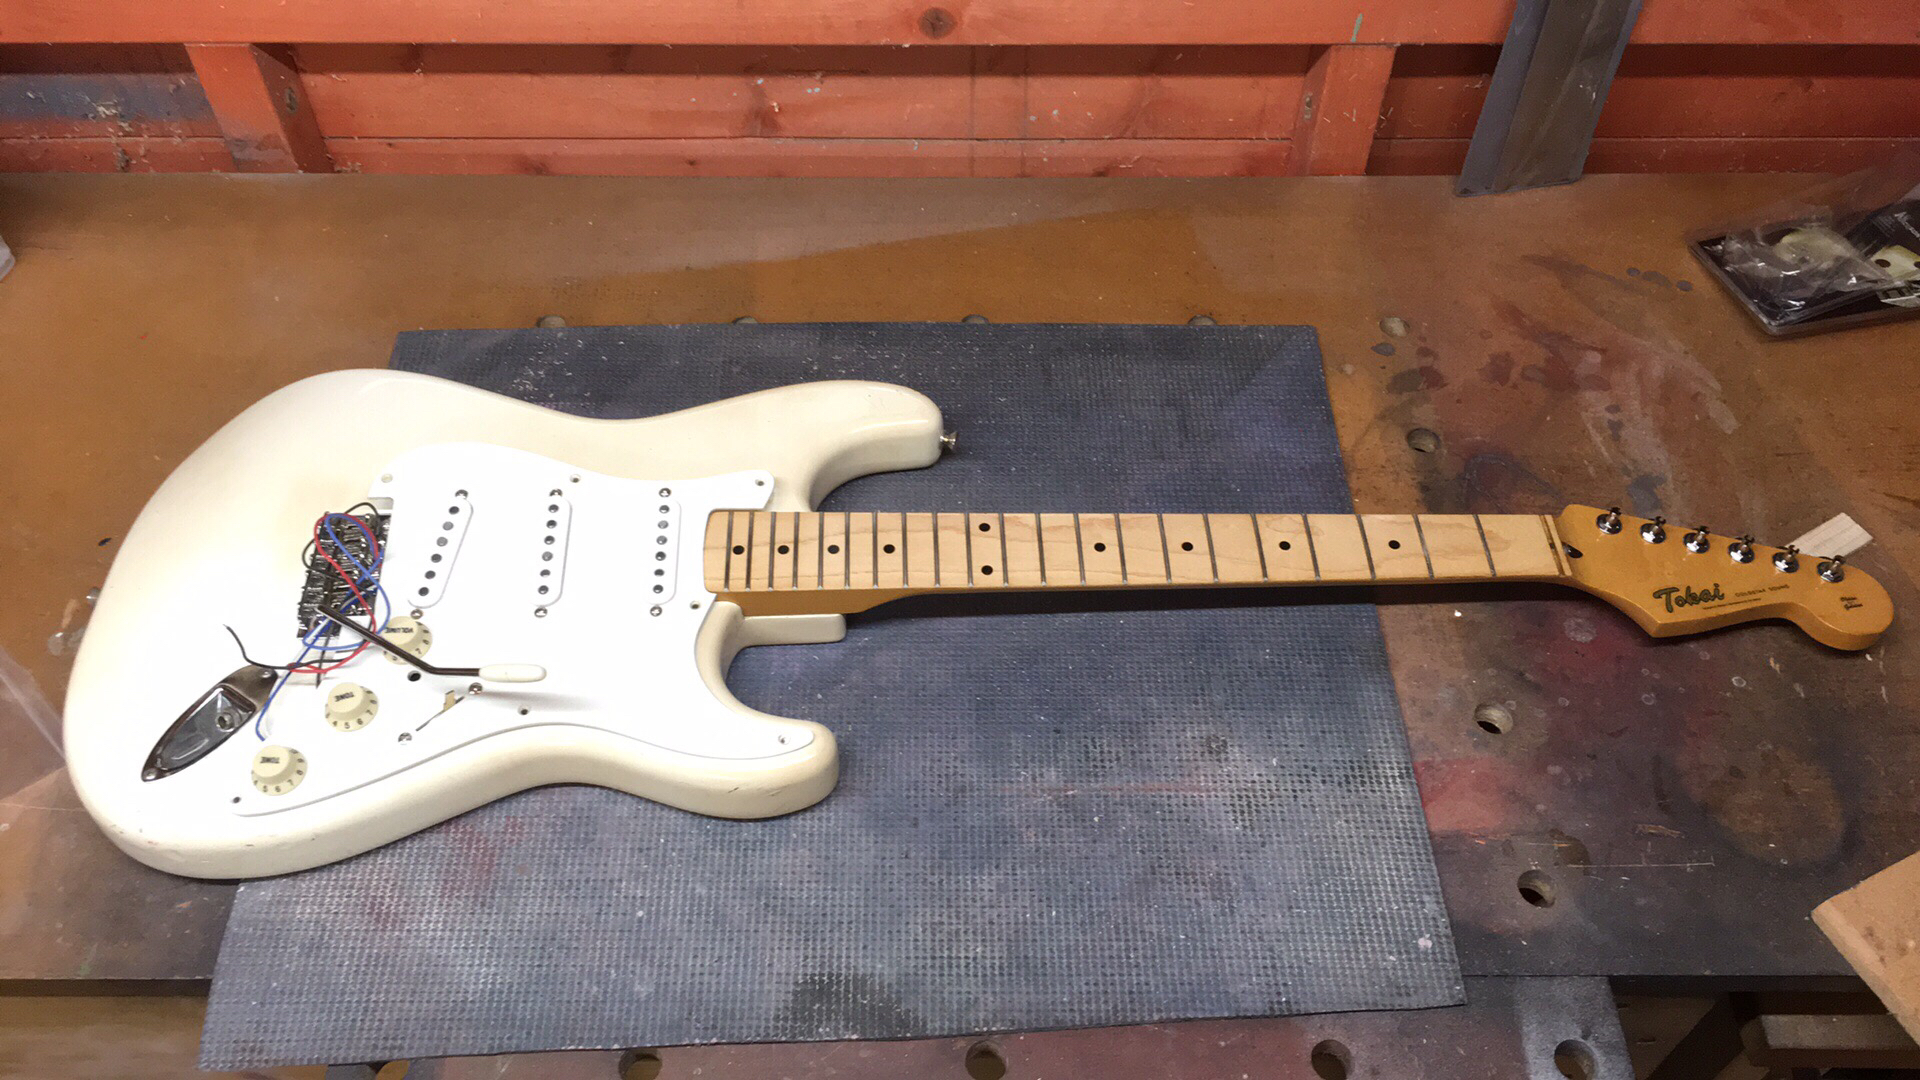
This particular example is a very road-worn Goldstar Sound in Tokai’s version of Olympic White. The body has a massive crack in it which almost split the body in half and has been repaired by someone. I have no idea how the damage occurred but there are impact marks on the edge of the body which suggest it might have been subjected to a ‘Pete Townsend’ moment. The finish has developed a nice patina. This is what a working guitar looks like after thirty-odd years. None of this ‘relic’ nonsense.
Contrary to rose-tinted reports that these guitars were better than Fenders, this one was almost unplayable. It’s been heavily used and the frets were completely worn out, but it had a number of other issues which needed sorting out, some of which have been a feature of the guitar since it was made.
- The bridge pickup wasn’t powerful enough for the owner, but he did want to retain the characteristic single coil sound, especially the authentic ‘clanky’ in-between position with the bridge and middle together.
- He didn’t want to use a humbucker in the bridge position as the guitar had to look stock.
- The bridge saddles had been replaced with brass ones which didn’t fit properly.
- The string spacing at the bridge was so wide the E strings hung off the edge of the fretboard.
- Two of the tuning machines were bent and the rest were really worn inside.
- Most significantly, the radius of the fingerboard was extraordinarily tight – around 6.5″.
Basically the neck was terrible. The worn frets and extreme radius rendered the guitar barely playable. The edges of the board were so rounded over that the E strings were unuseable towards the top of the neck, and bending strings was impossible. The guitar felt dead.
Time for me to work the Bedlam magic. First priority was to sort the neck out. No consideration was given to retaining the originality of the guitar, as the body is already very badly damaged and the neck is unplayable. It’s an old, low-budget musical instrument, not an heirloom.
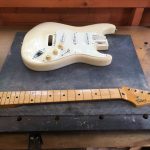
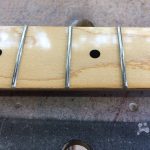
I took out all the frets and re-profiled the neck to a 12″ radius with a radius block. This revealed that the neck was very uneven and the fingerboard was twisted. The original radius was so inconsistent that I believe it was applied by hand without using a block or template. It’s now considerably flatter and more like the super-strats that the owner is used to. Rather than re-lacquering the fretboard to a gloss finish, which the owner didn’t want, I sealed it with Truoil, cut it back with extra-fine wire wool and finished it with lemon oil. It’s slightly lighter than the rest of the neck now, but will quickly darken and develop the same patina as the rest of the guitar.
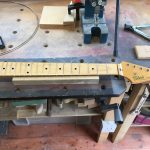
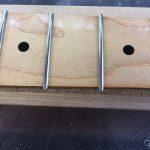
I refretted it with my favourite Jescar wire using my press. I levelled and crowned the frets, which takes ages but is essential to get a professional-looking finish. You’ll notice I deliberately didn’t mask off the fingerboard and it’s got slightly dirty. That’s as close as I’ll ever come to ‘relicing’.
I retained a little of the original edge wear. I usually prefer to add a little ‘tumblehome’ where the edges of the neck curve back in to meet the face of the fingerboard. This gives a nice ‘played in’ feel. I had to be careful not to reduce the playable width of the fingerboard, so the rounding over at the end of the frets was kept to a minimum.
Next I replaced the bridge. Wilkinson make a rather nice replacement which lines up perfectly with the existing holes but has a slightly narrower E-E string spacing than standard. It even has a steel block for the proper mojo. Perfect.

The pickups had already been replaced with Wilkinson jobs and the owner was quite happy with the neck and middle. I unilaterally decided to replace the covers as I didn’t like the logos. The bridge pickup needed some attention though, but I had some strict rules to follow. The pickup had to look and sound exactly like a standard Strat pickup but also have enough power to solo like a humbucker. How do I do that?!
Well, this is where the little-known world of tapped single coils comes in. Basically you wind a single coil as normal, attaching hook-up leads to the two ends when you’ve wound your usual number of turns. Then you keep on winding until there’s no more room left on the coil and add another hook-up wire. Now your pickup coil has three ‘ends’ – the start, the end and one in the middle. If you connect up the start and the middle, it sounds like a regular Strat. If you use the start and the end instead you get more output and a deeper tone, sort of like a P90. With a bit of clever switching you can have the best of both worlds.
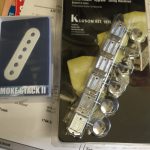
Tapped single coils are not as common as they should be, and I don’t know why because they are brilliant. Luckily Iron Gear pickups do a really good one called the Smokestack II and it doesn’t cost very much at all.
That’s how to wire a Strat pickguard. Tone cap is a cheap 0.022uF poly cap, which looks mojo and works perfectly. Don’t be taken in by uber-expensive PIO mojo-crap tone capacitors. A cheap one works just as well. Having said that, my Les Paul has Mullard Mustard caps in, but that’s just because I got a bag of them cheap! The value is far more important than whether it’s Mojo, POI, or came out of a Soviet cold-war bomber. 0.022uF works pretty well for humbuckers in the bridge, and testing confirms it works well for this guitar too. For neck humbuckers I usually prefer 0.015uF as the effect is less dramatic.
This guitar has an unusual control setup. As well as the toggle switch for the pickup tap (which is in a silly place but the hole was already there), it also has dual volume controls. The top knob operates the bridge and middle pickups and the middle knob is the volume for the neck pickup. I’m used to a Les Paul where the top knob is the NECK pickup, so I find it super confusing, but I expect the owner will get used to it. If not I’ll swap them over. On the plus side, it’s a really useful setup – much more use than one volume and two tone.
Nearly there. Just the tuners to fix. I was dead lucky and got the world’s last remaining set of Tonepros Kluson tuners with threaded bushes on clearout sale from Stewmac. Lovely, lovely tuners and I wish I had another set for my own Strat. But I don’t.
Anyhoo. I used my special reamer to open the holes out for the bushes. Everything fitted perfectly.
This was a fun project. Lots of work and it would cost a customer around £500 for the parts and labour. In this case the customer was my brother, Peter Roberts so we reached an agreement.
The feel and playability of the guitar is massively improved. I personally hate Strats, and even I like this one. A bit. It does all the Hendrix / SRV / Knopfler cliché stuff exactly as you’d expect, then when you flick the boost switch it really gets some attitude. It still sounds like a Strat, but one that’s spent a few months in the gym. The dual volume controls are a great idea, although if it was mine I’d swap them over and put the tap switch on a push-push pot. Mind you, if it was mine it would also have a rosewood fingerboard, a sunburst finish and be a Les Paul.